|
Unity SDK
v1.1
|
|
|
Unity SDK
v1.1
|
Welcome to the Weart Unity SDK documentation.
The SDK allows to connect to the Weart middleware and perform various actions with the TouchDIVER devices:

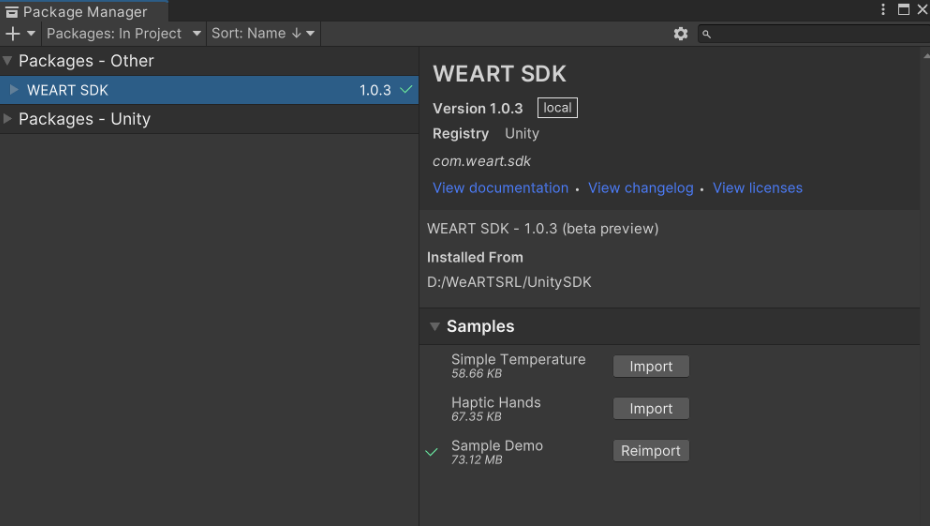
The minimum setup to use the weart SDK consists of:
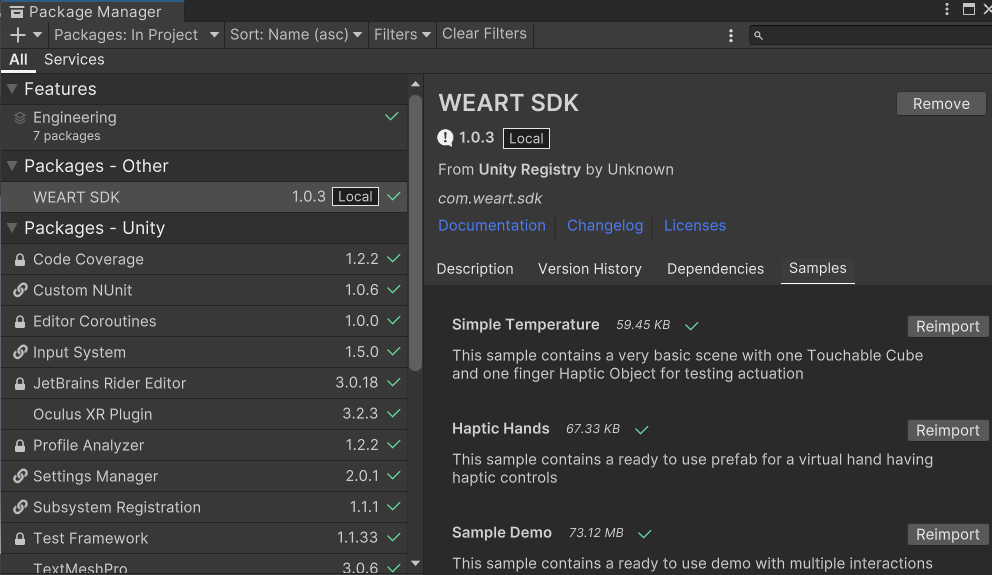
Create a new project or open an existing one.
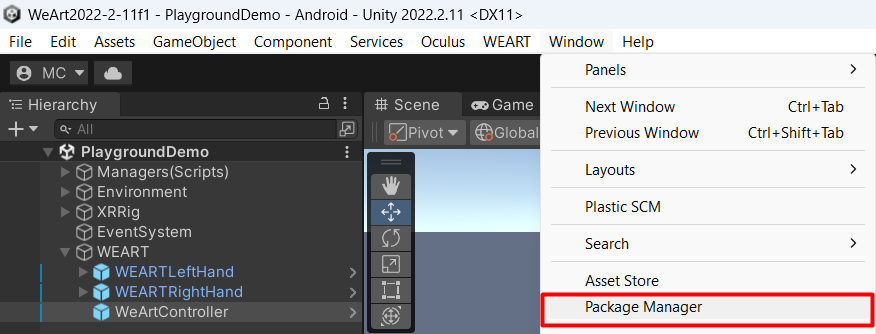
Go to "Window" and then to "Package Manager".
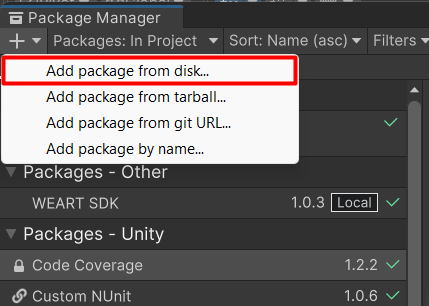
Then press on the "+" and select "Add package from disk".
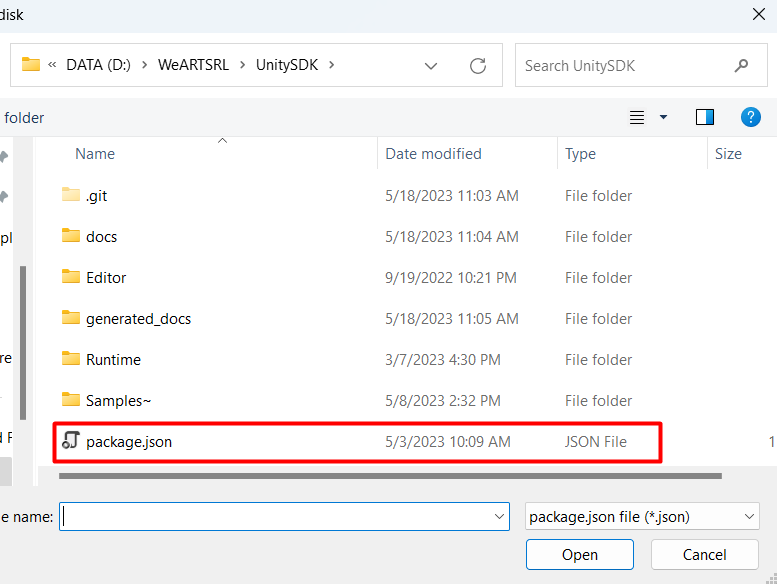
Find the location of the SDK, select package.json and press "Open".
From here it is possible to import samples to the project.
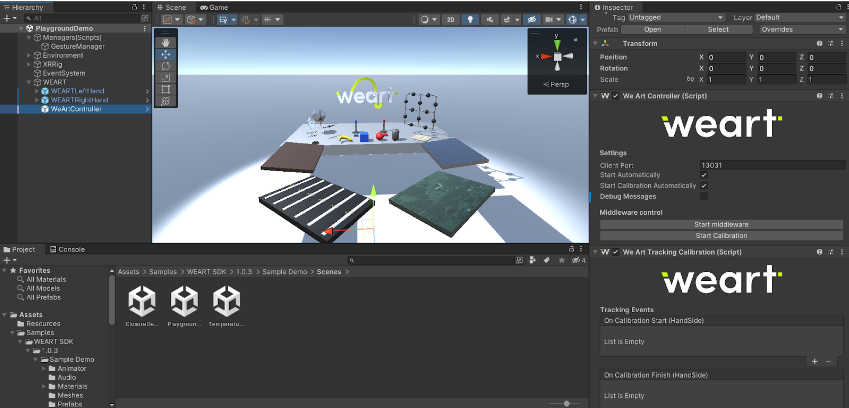
Responsible for communication with the TouchDiver device through dialogue with Middleware Path: Packages🡪 WEART SDK 🡪 Runtime 🡪 Prefabs 🡪 WeArtController.
Inspector Properties:
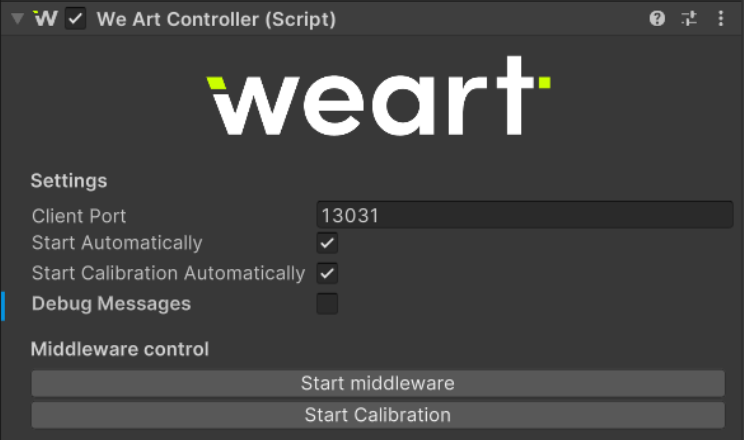
WeArtTrackingCalibration contains Unity events that correspond to the middleware calibration events
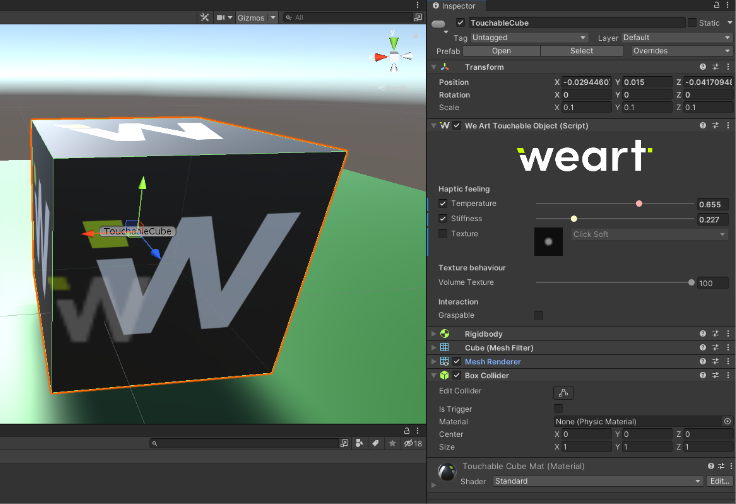
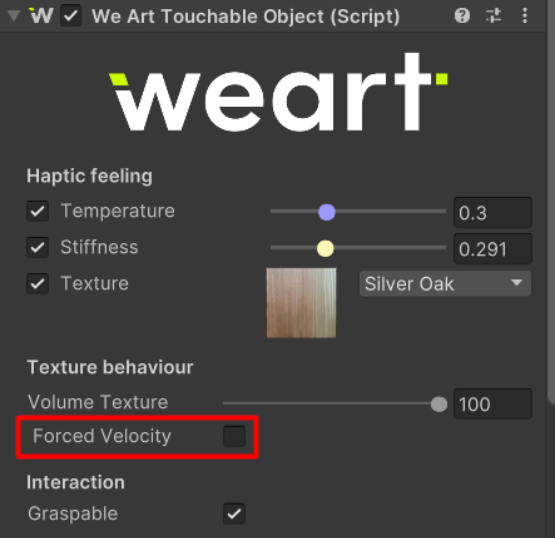
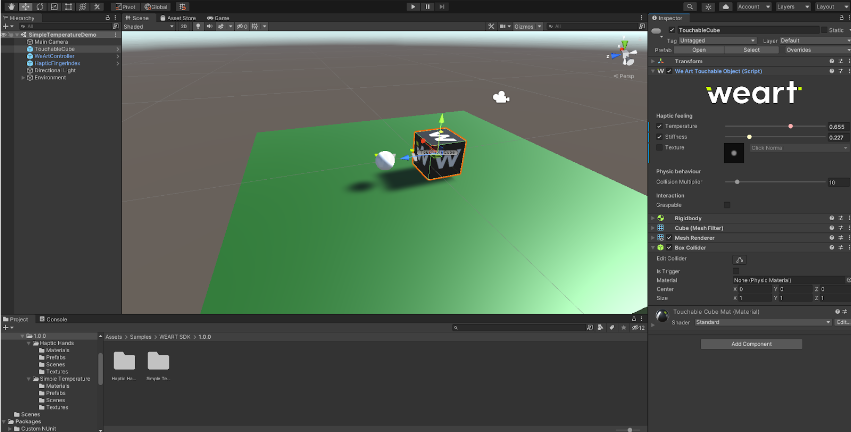
Component responsible for the description of the haptic effect to be applied in the event of a collision with the HapticObject actor Properties:
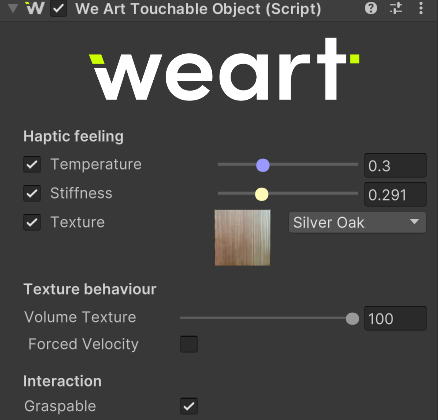
GameObject Requirements:
The component WeArtTouchableObject has a flag called Forced velocity, if it is enabled, when the hand enters the touchable object, the texture feeling will run at maximum speed. It will not take in consideration the movement of the hand.
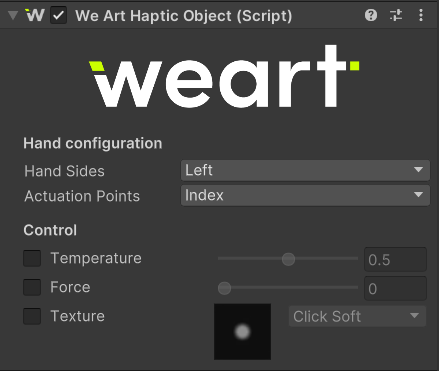
Component responsible for the haptic actuation of the individual digital devices belonging to the TouchDiver device Properties:
GameObject Requirements:
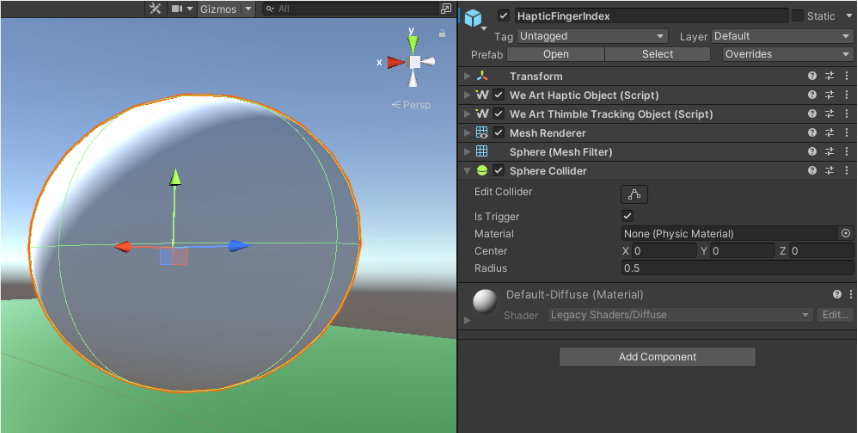
By adding components to existing game objects. Either insert any prefab in the map, and equip it with a Haptic/Touchable component and a collision, or create a prefab which you can then reuse anytime you want. In the inspector panel, you should have access to all the modifiable variables.
Component responsible for tracking of thimble' movements for quantifying its closed state and animating virtual hands Properties:
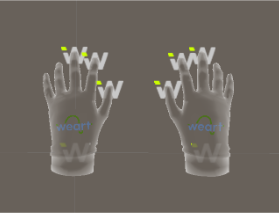
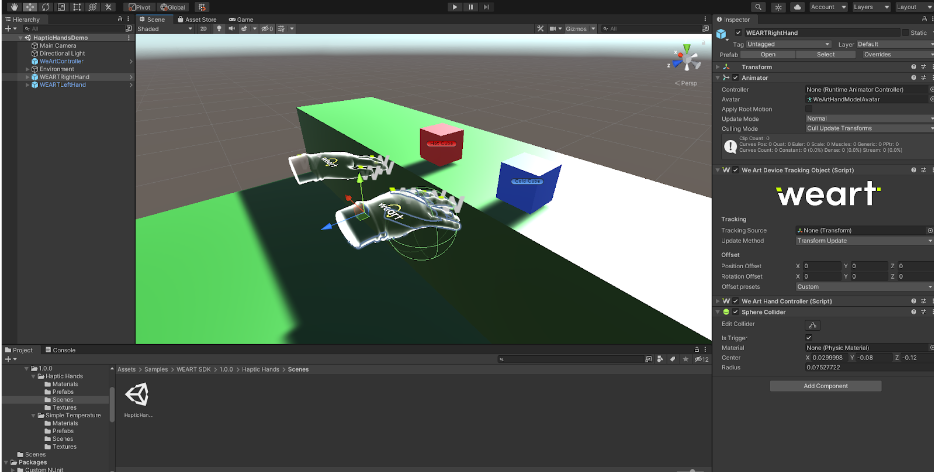
Represents virtual hands in your experience linked to TouchDiver and able to update finger tracking for activation hand animation and haptic for thimbles. In base of the project configuration, the hands can move with your motion controller. Path: Packages🡪WEART SDK 🡪 Runtime 🡪 Prefabs 🡪 WEARTLeftHand | WEARTRightHand
Each WeArtHandController has two events. One fires when an object is grasped and the other when it is released.
Create two functions that will be subscribed to the events
And then subscribe them to the hand controller;
The hand prefabs contain a script called WeArtHandController.
This component has a field called ShowHandOnGrasp. If this is enabled, the hand will be visible during the grasping of objects. If it is not, the hand will be invisible during the grasping.
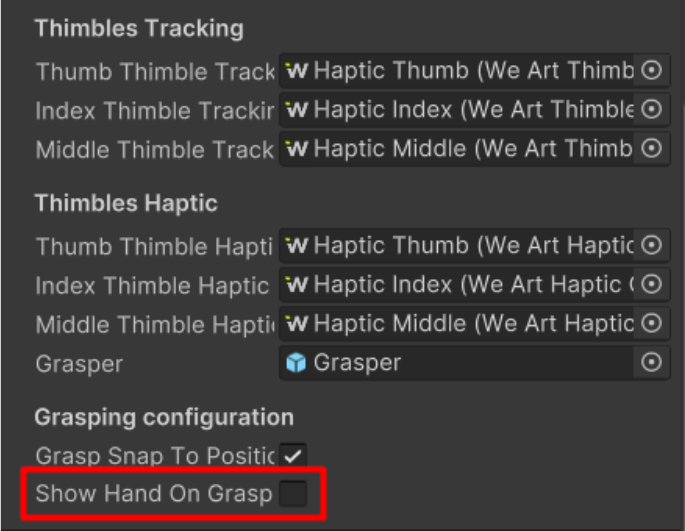
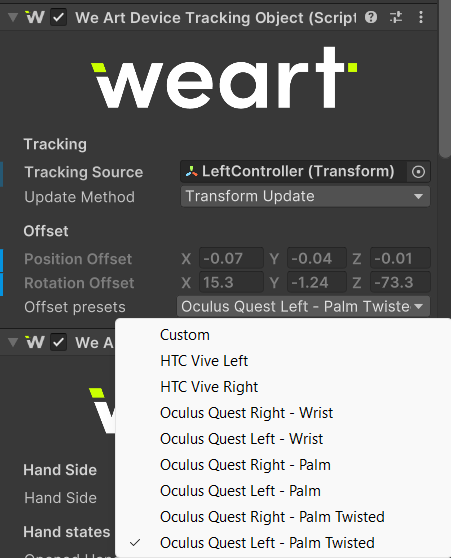
These hand prefabs contain a script called WeArtDeviceTrackingObject.
This component has offset presets that can be changed based on the touch diver setup.
Component responsible for the tracking of the wrist on which the TouchDiver device is placed Properties:
Here are the offset presets available:
Manage Start and Stop Middleware communication Import in your C# class this namespace:
From WeArtController GameObject get Instance
From WeArtController GameObject get Instance
After starting the middleware and performing the device calibration, it's possible to receive tracking data related to the TouchDIVER thimbles.
There are two hand prefabs in the scene. Every hand prefab has a WeArtHandController. Every WeArtHandController has three WeArtThimbleTrackingObject references. We can get the closure and abduction from these components. The values are from 0 to 1, 0 representing no closure or abduction and the 1 representing the maximum value.
Getting Closure and Abduction:
The SDK contains a basic WeArtTouchEffect class to apply effects to the haptic device. The TouchEffect class contains the effects without any processing. For different use cases (e.g. values not directly set, but computed from other parameters), create a different effect class by implementing the WeArtEffect interface.
Instantiate new effect:
Create and activate actuations
Set actuation to effect:
Apply to your HapticObject (finger/thimble) effect:
To remove effect and restore actuation, get the same instance of effect and call “Remove” for the same HapticObject:
In WeArtCommon.cs we can find enum called TextureType We can add a new texture like this:
And we can access it by index:
We can change the velocity of the texture of an effect by changing its value [0.0 to 0.1] 0.5 is recommended for the normal speed of the texture. This will give the effect a constant speed for the texture without moving the hand
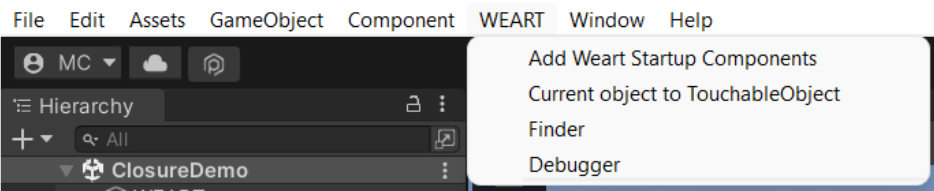
This tool will add the controller and the hands prefabs

This tool will transform the selected game object into a touchable object and it will apply the necessary components.
This tool will open a window that will show the touchable objects present in the scene
This tool will open a window that will show the haptic objects in the scene and its parameters
You could import a sample scene to understand SDK components and simplify your test using ready scenes with any components you need.
This sample contains a very basic scene with one Touchable Cube and one finger Haptic Object for testing actuation
This sample contains a ready-to-use prefab for a virtual hand having haptic controls
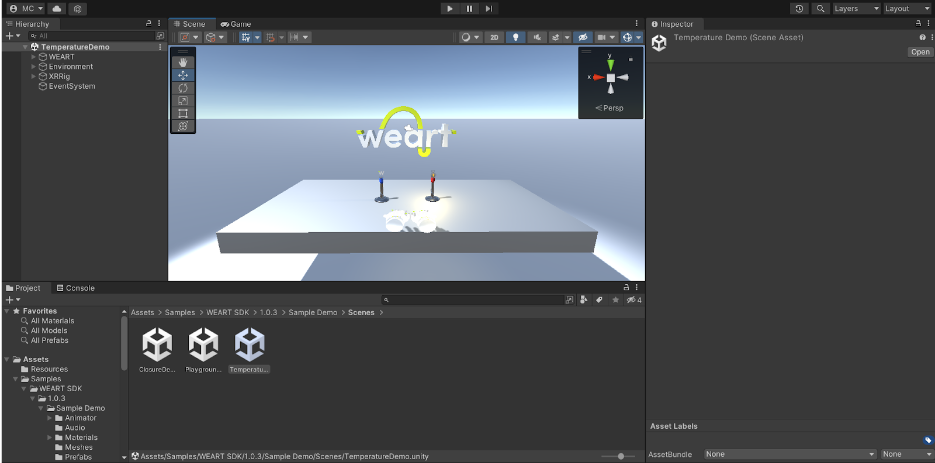
This sample contains a ready-to-use scene which shows the capabilities of the sdk. It has three scenes:
This scene contains four material plates that have different textures, four objects on the table that can be grabbed and have different temperatures, an objects that responds to a gesture system, a group of slider objects that we can interact with and two objects that create a continuous temperature and texture effect
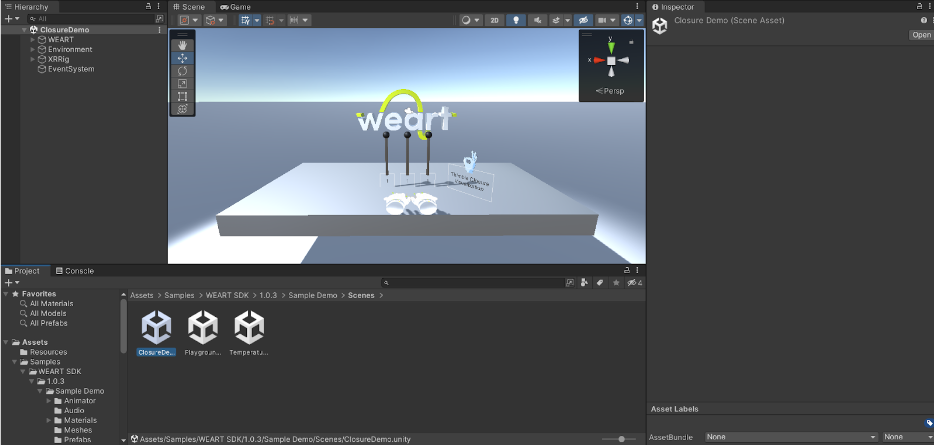
The scene contains a visual representation of the closure values of the ThimbleTrackingObjects
To update your application to the latest SDK, download and extract the Unity SDK archive, then copy the files in the same place as the older SDK version.
The new version includes additional files, so it's necessary to add them to the project in order to avoid linking errors.
This can be done on Visual Studio by right-clicking on the solution, then clicking on Add -> Existing Item and selecting all the SDK files. On other systems (e.g. cmake) the procedure might be different.
The SDK is retro-compatible with older versions, so there's no need to update the application code. To see the new feature and fixes added to each version, refer to the Changelog section.
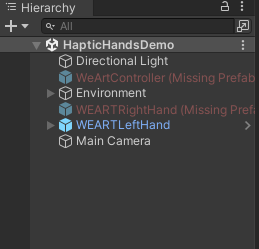
After the update of the SDK the WeArtController and WEARTRightHand will be broken in the scene. Replace them with the new prefabs from the sdk.